基于 NumPy 实现 LSTM 图像分类:将 PyTorch 模型迁移至嵌入式环境
概述
在资源受限的嵌入式设备(如树莓派)上运行深度学习模型时,直接部署重量级的框架(如 PyTorch 或 TensorFlow)往往会面临内存不足或安装困难的问题。通过将模型参数导出为通用的 NumPy 数组,并在推理端手动实现网络逻辑,可以实现轻量化的模型部署。本文将介绍如何使用 NumPy 实现一个双层 LSTM 网络,加载预训练的 PyTorch 模型参数,完成对 MNIST 手写数字集的识别。
第一阶段:模型训练与参数导出
首先在 PC 端使用 PyTorch 定义并训练一个双层 LSTM 网络。训练完成后,需要提取 state_dict 中的权重信息,并将其保存为 .npz 格式以便后续读取。
import torch
import torch.nn as nn
import torchvision
import numpy as np

# 定义网络结构
class DigitsLSTM(nn.Module):
    def __init__(self, input_dim, hidden_dim, layer_num, class_num):
        super(DigitsLSTM, self).__init__()
        self.hidden_dim = hidden_dim
        self.layer_num = layer_num
        self.lstm_core = nn.LSTM(input_dim, hidden_dim, layer_num, batch_first=True)
        self.classifier = nn.Linear(hidden_dim, class_num)

    def forward(self, x):
        h_init = torch.zeros(self.layer_num, x.size(0), self.hidden_dim).to(x.device)
        c_init = torch.zeros(self.layer_num, x.size(0), self.hidden_dim).to(x.device)
        out, _ = self.lstm_core(x, (h_init, c_init))
        return self.classifier(out[:, -1, :])

# 配置超参数
IMG_SIZE = 28
HIDDEN_SIZE = 128
LAYERS = 2
CLASSES = 10
LR = 0.001
EPOCHS = 1

# 数据准备
transform = torchvision.transforms.ToTensor()
train_data = torchvision.datasets.MNIST(root='./data', train=True, transform=transform, download=True)
loader = torch.utils.data.DataLoader(dataset=train_data, batch_size=64, shuffle=True)

model = DigitsLSTM(IMG_SIZE, HIDDEN_SIZE, LAYERS, CLASSES)
loss_fn = nn.CrossEntropyLoss()
opt = torch.optim.Adam(model.parameters(), lr=LR)

# 简易训练流程
for epoch in range(EPOCHS):
    for step, (imgs, labels) in enumerate(loader):
        imgs = imgs.view(-1, IMG_SIZE, IMG_SIZE)
        preds = model(imgs)
        loss = loss_fn(preds, labels)

        opt.zero_grad()
        loss.backward()
        opt.step()

        if step % 100 == 0:
            print(f"Epoch {epoch}, Step {step}, Loss: {loss.item():.4f}")

# 导出参数为 NumPy 格式
params_dict = {}
for key, val in model.named_parameters():
    params_dict[key] = val.detach().cpu().numpy()
np.savez('lstm_weights.npz', **params_dict)
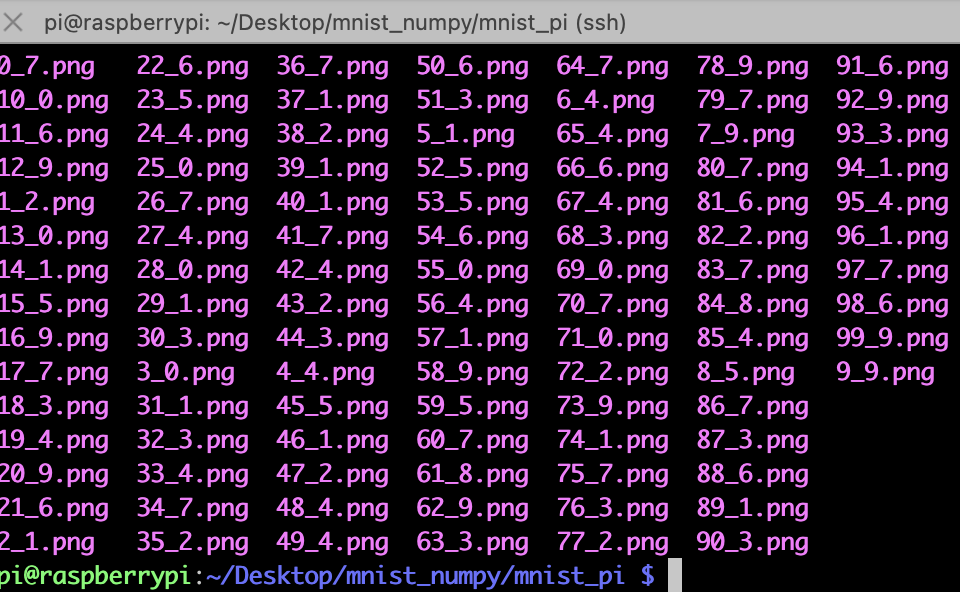
在导出数据前,建议准备一些测试图片。图片可以按"索引_标签.png"的方式命名,方便在嵌入式端验证识别准确率。
第二阶段:NumPy 推理端实现
在树莓派上,由于无法安装完整的深度学习框架,我们需要使用 NumPy 手动构建 LSTM 的前向计算。LSTM 的核心在于对输入门、遗忘门、细胞状态和输出门的精确模拟。需要注意的是,PyTorch 的 LSTM 权重矩阵是合并存储的,格式为 $(W_{ii}|W_{if}|W_{ig}|W_{io})$,在计算时需要对其进行切片处理。
import numpy as np
import os
from PIL import Image

def sigmoid(x):
    return 1 / (1 + np.exp(-x))

class NumpyLSTMInference:
    def __init__(self, weight_path):
        data = np.load(weight_path)
        # 获取第一层权重
        self.w_ih_l0 = data['lstm_core.weight_ih_l0']
        self.w_hh_l0 = data['lstm_core.weight_hh_l0']
        self.b_ih_l0 = data['lstm_core.bias_ih_l0']
        self.b_hh_l0 = data['lstm_core.bias_hh_l0']
        # 获取第二层权重
        self.w_ih_l1 = data['lstm_core.weight_ih_l1']
        self.w_hh_l1 = data['lstm_core.weight_hh_l1']
        self.b_ih_l1 = data['lstm_core.bias_ih_l1']
        self.b_hh_l1 = data['lstm_core.bias_hh_l1']
        # 全连接层
        self.fc_w = data['classifier.weight']
        self.fc_b = data['classifier.bias']
        self.h_dim = 128

    def _compute_cell(self, x, h_prev, c_prev, w_ih, w_hh, b_ih, b_hh):
        # 拆分四个门的权重
        gates = np.dot(x, w_ih.T) + b_ih + np.dot(h_prev, w_hh.T) + b_hh

        i = sigmoid(gates[:self.h_dim])
        f = sigmoid(gates[self.h_dim : 2*self.h_dim])
        g = np.tanh(gates[2*self.h_dim : 3*self.h_dim])
        o = sigmoid(gates[3*self.h_dim:])

        c_next = f * c_prev + i * g
        h_next = o * np.tanh(c_next)
        return h_next, c_next

    def predict(self, input_seq):
        # input_seq: (seq_len, feature_dim)
        seq_len, _ = input_seq.shape

        # 第一层 LSTM 遍历时间步
        h_l0, c_l0 = np.zeros(self.h_dim), np.zeros(self.h_dim)
        layer0_outputs = []
        for t in range(seq_len):
            h_l0, c_l0 = self._compute_cell(input_seq[t], h_l0, c_l0,
                                           self.w_ih_l0, self.w_hh_l0,
                                           self.b_ih_l0, self.b_hh_l0)
            layer0_outputs.append(h_l0)

        # 第二层 LSTM 接收第一层的序列输出
        h_l1, c_l1 = np.zeros(self.h_dim), np.zeros(self.h_dim)
        for t in range(seq_len):
            h_l1, c_l1 = self._compute_cell(layer0_outputs[t], h_l1, c_l1,
                                           self.w_ih_l1, self.w_hh_l1,
                                           self.b_ih_l1, self.b_hh_l1)

        # 全连接输出
        logits = np.dot(h_l1, self.fc_w.T) + self.fc_b
        return np.argmax(logits)

# 执行推理
engine = NumpyLSTMInference('lstm_weights.npz')
img_dir = './mnist_pi'

for fname in os.listdir(img_dir):
    if fname.endswith(('.png', '.jpg')):
        path = os.path.join(img_dir, fname)
        raw_img = Image.open(path)
        # 归一化并转换为 numpy
        img_arr = np.array(raw_img) / 255.0
        res = engine.predict(img_arr)
        print(f"File: {fname}, Predicted: {res}")
性能与结果分析
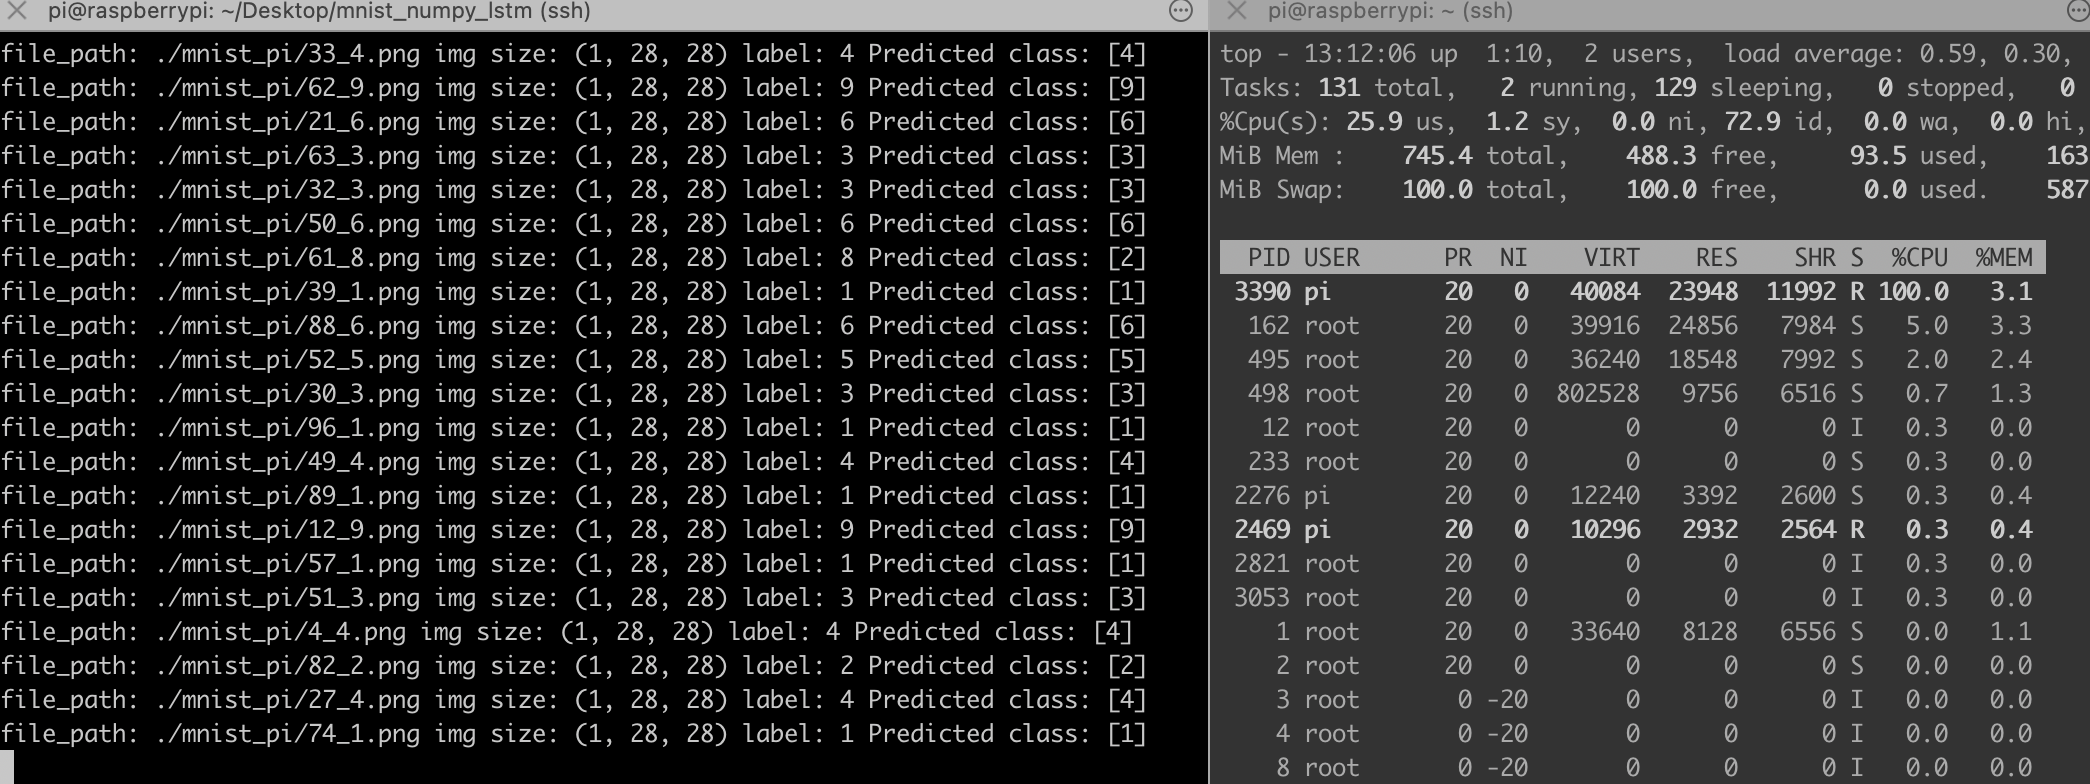
手动实现的 LSTM 推理在 CPU 上运行良好,能够正确识别出手写数字。虽然由于使用了 Python 循环遍历时间步,推理速度相对于优化的算子库(如 MKL 或 OpenBLAS)较慢,但在非实时场景下完全可以接受。通过这种方法,我们成功将 PyTorch 的强大训练能力与 NumPy 的轻量级部署方案相结合,为嵌入式 AI 应用提供了一种可行思路。